One question I always seem to get asked is how to strip paint from minis.
Easy. Just an overnight soak in Castrol Super Clean brake fluid will remove paint from any miniature whether its plastic, resin, or metal.
Now a word to the wise for anyone thats going to do this. Commit this to your memory, write it down, tatoo it on your forearm:
brake FLUID FLUID FLUID FLUID!!!
The last person who I told this to wanted to strip a Land Raider of what he thought was a bad paint job. So I told him the very same thing above. So what did he do? He used brake cleaner.
After the overnight soak, he was left with a glob of molten plastic that probably could be molded into an Epic size Land Raider. So much for that.
Once it is soaked, use an old toothbrush to get rid of those hard to reach areas and your model will look good as new, ready for new paint. (Let it dry first)
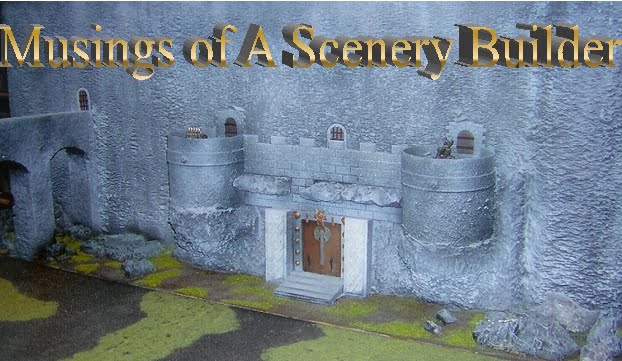
This site is dedicated to the creation of wargames terrain for table top and roleplaying games, both science fiction and fantasy. I focus on the creation of wargames terrain that looks realistic, but is inexpensive to make from easy to get materials for those who don't want to pay a fortune for their battlefields. I will also include my own armies, painting techniques, and the occasional win (I'm a horrible player). For more, visit my website: http://creativeminiaturehobbies.com
Wednesday, October 5, 2011

Thursday, September 22, 2011
Something I painted up.
Just wanted to show this off. Its a Wight standard bearer for my wife's Vampire Counts. The banner is hand painted.
 I'll have a tutorial on how I did the banner at a later date. Its actually very easy to do.
TTFN

TTFN
Friday, September 16, 2011
Tip of the Month
A small tile (2”x2”) makes a perfect and easy-to-clean palette (you can get one as a free sample from a hardware store). Use a razor blade or soap & water to clean it off.


Sunday, September 11, 2011
Friday, September 9, 2011
Sci-Fi Hangers How-To (Part 1)
Hello Ladies and Gentlemen, Hobos and Tramps, Bug-eyed mosquitos and bow-legged Ants.
So I finally have some workspace to start up my scenery building again. For my first project, its something easy that anyone can do in a couple of evenings.
On to the Sci-Fi Hangers:
The hangers are styrofoam packing inserts that I found somewhere. Usually a piece of trash will have the right look for terrain if you look at it the right way.
First, measure the base boards for the hangers. I use 1/8th MDF for all my bases since its light, doesn't warp as much when wet with glue, and you can cut it with a utility knife. (See "Making Terrain" for more.) Place the building on top of the base and measure 1 1/2 inches from each side. This gets you the proper dimensions for the base. Figure 1/2" that will be cut off and an inch for the models to stand on. Once you have the measurements, you can cut the base out.
The base may look a little ragged at this point. This is will be straightened out in the next step. Take your utility knife and start to cut or shave the edges down to a 45 degree angle (it doesn't have to be exact). You'll know you're doing it right when the edge comes to a crisp point. SAFETY POINT: Always cut away from you!
Now that you have the shape you want, sand it down with a medium grit sandpaper (100 grit is fine) to get the rough edges off. This will also round the corners so it won't be too square. I usually round all my bases except for the ones used for city terrain. The square bases automatically become curbs. The round base blends better into the battleboard. The slope also makes it easier for models to stand on without falling over.
Now that the base is smoothed down, place the building on top to check for fit. You can make any adjustments in trimming if needed.
In the next session, I'll show you how to detail the hangers and attach them to the bases. Believe it or not, they're construction is already half way done. I'm actually building two of them at the same time.

So I finally have some workspace to start up my scenery building again. For my first project, its something easy that anyone can do in a couple of evenings.
On to the Sci-Fi Hangers:
The hangers are styrofoam packing inserts that I found somewhere. Usually a piece of trash will have the right look for terrain if you look at it the right way.
First, measure the base boards for the hangers. I use 1/8th MDF for all my bases since its light, doesn't warp as much when wet with glue, and you can cut it with a utility knife. (See "Making Terrain" for more.) Place the building on top of the base and measure 1 1/2 inches from each side. This gets you the proper dimensions for the base. Figure 1/2" that will be cut off and an inch for the models to stand on. Once you have the measurements, you can cut the base out.
 |
| All your base belong to us! |
 |
| Still a little rough but almost there. |
 |
| The finished base. |
 |
| Yep, it fits. |

Monday, August 29, 2011
New AdSense thingy added
So added the monetizing thing to the blog. Lets see if its worth it or if just makes the blog annoying.
Monday, August 15, 2011
'Ard Boyz, not quite.
So after preparing for the 'Ard Boyz tourney, getting everything built and most painted, I was unable to attend. My Grandmother of 92 years passed away. Some things are more important.
There's always next year.
There's always next year.
Subscribe to:
Posts (Atom)